
Bookkeeping & documents
The money paperwork, kept for you.
- The bookkeeping ledger
- Connect your bank (bank feed)
- Connect QuickBooks Online
- What syncs to QuickBooks
- Charging a QuickBooks invoice from the Payment Extension
- Run ServiceTitan? Charge and reconcile there instead
- Odoo, JobTread and Mindbody
- Reconciling & what to expect
- Profit & Loss (owner-only)
- Statements & tax forms
The bookkeeping ledger
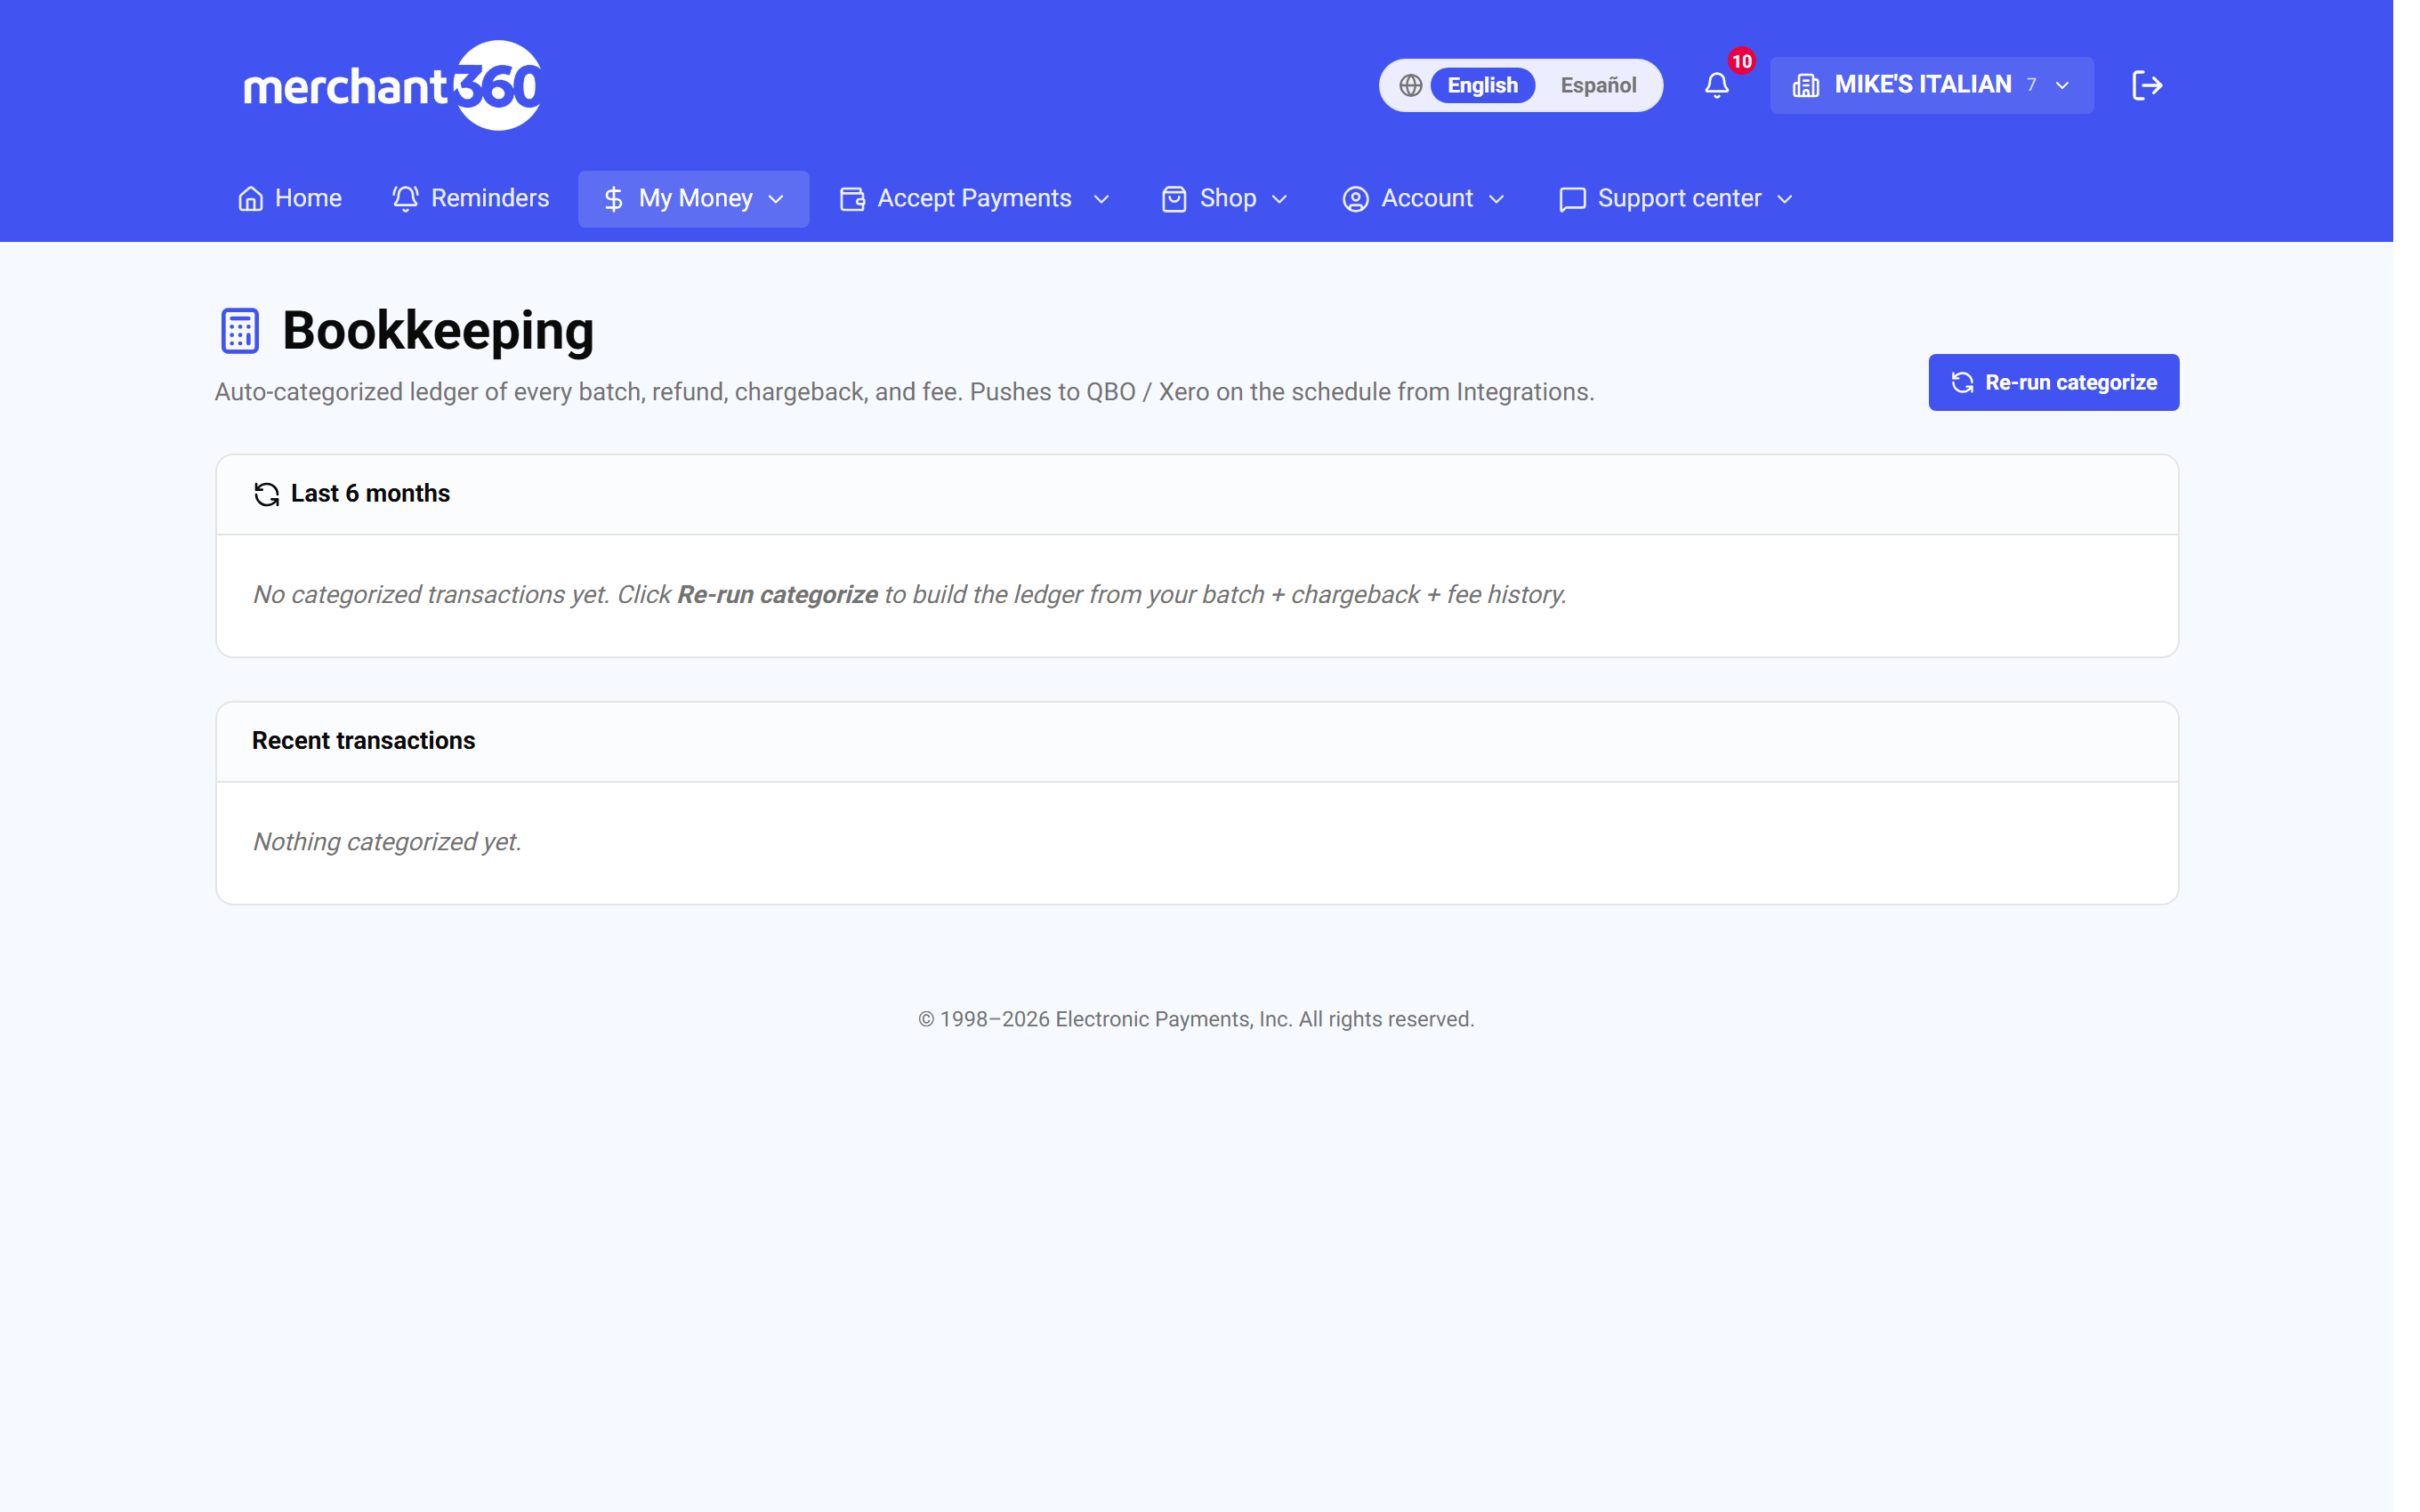
Bookkeeping is a read-only ledger that categorizes every batch, refund, chargeback, and processing fee for you. There is nothing to key in.
The top summarizes the last six months by Sales, Refunds, Chargebacks, Processing fees, and Net, with a detailed list of recent transactions below. Rows that have been sent to QuickBooks carry a QBO stamp. Use Re-run categorize if you want to rebuild the ledger after a rules change. To push your activity into your accounting software, connect QuickBooks or Xero under Account → Integrations.
Open it at month end to check the six-month table against your bank deposits before your bookkeeper closes the books. Done looks like this: Net for the month matches what landed in your bank, and every recent transaction has a category.
If a month looks short, remember Net is Sales minus Refunds, Chargebacks, and Processing fees, so compare it to your deposits rather than your sales. If a transaction is uncategorized, click Re-run categorize. If you need the official document, click View statements for the monthly processing statement.
| On this screen | What it does |
|---|---|
| Last 6 months: Month / Sales / Refunds / Chargebacks / Processing fees / Net | The summary table. Net is what was deposited after refunds, chargebacks, and fees. |
| Recent transactions | The itemized ledger with a category on each row. |
| QBO stamp | Marks a row that has already been synced to QuickBooks Online. |
| Re-run categorize | Rebuilds the categories on every row. Safe to run any time. |
| Connect QuickBooks or Xero | Takes you to Account → Integrations to set up the accounting sync. |
| View statements | Opens your monthly processing statements. |
Connect your bank (bank feed)
Your processing income books itself, but the spending side of your P&L used to be typed by hand. The bank feed fixes that: connect your business checking under Accept Payments → Bank Feed and your bank transactions sync in nightly. Each settled charge is auto-categorized (rent, utilities, supplies, insurance, and so on) and booked as an expense on your Profit & Loss. Deposits and transfers are listed but never counted as expenses.
The connection runs through Plaid and is read-only: it lists transactions and cannot move money. Connect the account you actually pay bills from. Done looks like this: the page lists recent bank activity with a P&L category on each row, and Profit & Loss shows those expenses without you typing any.
If the list reads No transactions yet, the first pull is still running; new activity appears daily. If a category is wrong, change it from the dropdown on the row and the P&L updates. If a charge is personal or a duplicate, untick In P&L and it comes off the P&L; tick it again to re-include it. If your bank asks you to sign in again, click Disconnect and connect the bank again; already-categorized rows are kept.
- 1Go to Accept Payments → Bank Feed and click Connect your bank. Pick your bank and sign in on Plaid's secure window.
- 2Your recent transactions appear, categorized. Fix any category from the dropdown; the P&L updates.
- 3Untick In P&L on anything that is not a business expense (personal spend, a duplicate) and it comes off the P&L. You can re-include it later.
- 4That is it. New activity syncs in every night.
| On this screen | What it does |
|---|---|
| Connect your bank | Opens Plaid's secure window to pick your bank and sign in. Read-only access. |
| Disconnect | Stops the nightly sync. Rows already pulled stay on the page and on the P&L. |
| Date / Description / Amount | Each bank transaction as your bank reports it. |
| P&L category | A dropdown per row: Rent, Utilities, Payroll taxes, Processing fees, Marketing, Supplies, Insurance, Other. Changing it updates the P&L. |
| In P&L | Ticked rows count as expenses. Untick to exclude a personal or duplicate charge; deposits and transfers are never counted. |
| No transactions yet. New activity appears daily. | Shown until the first nightly pull completes. |
Open Profit & Loss after connecting: your expense picture fills in on its own, and the manual expense form is still there for cash spending that never touches the bank.
Connect QuickBooks Online
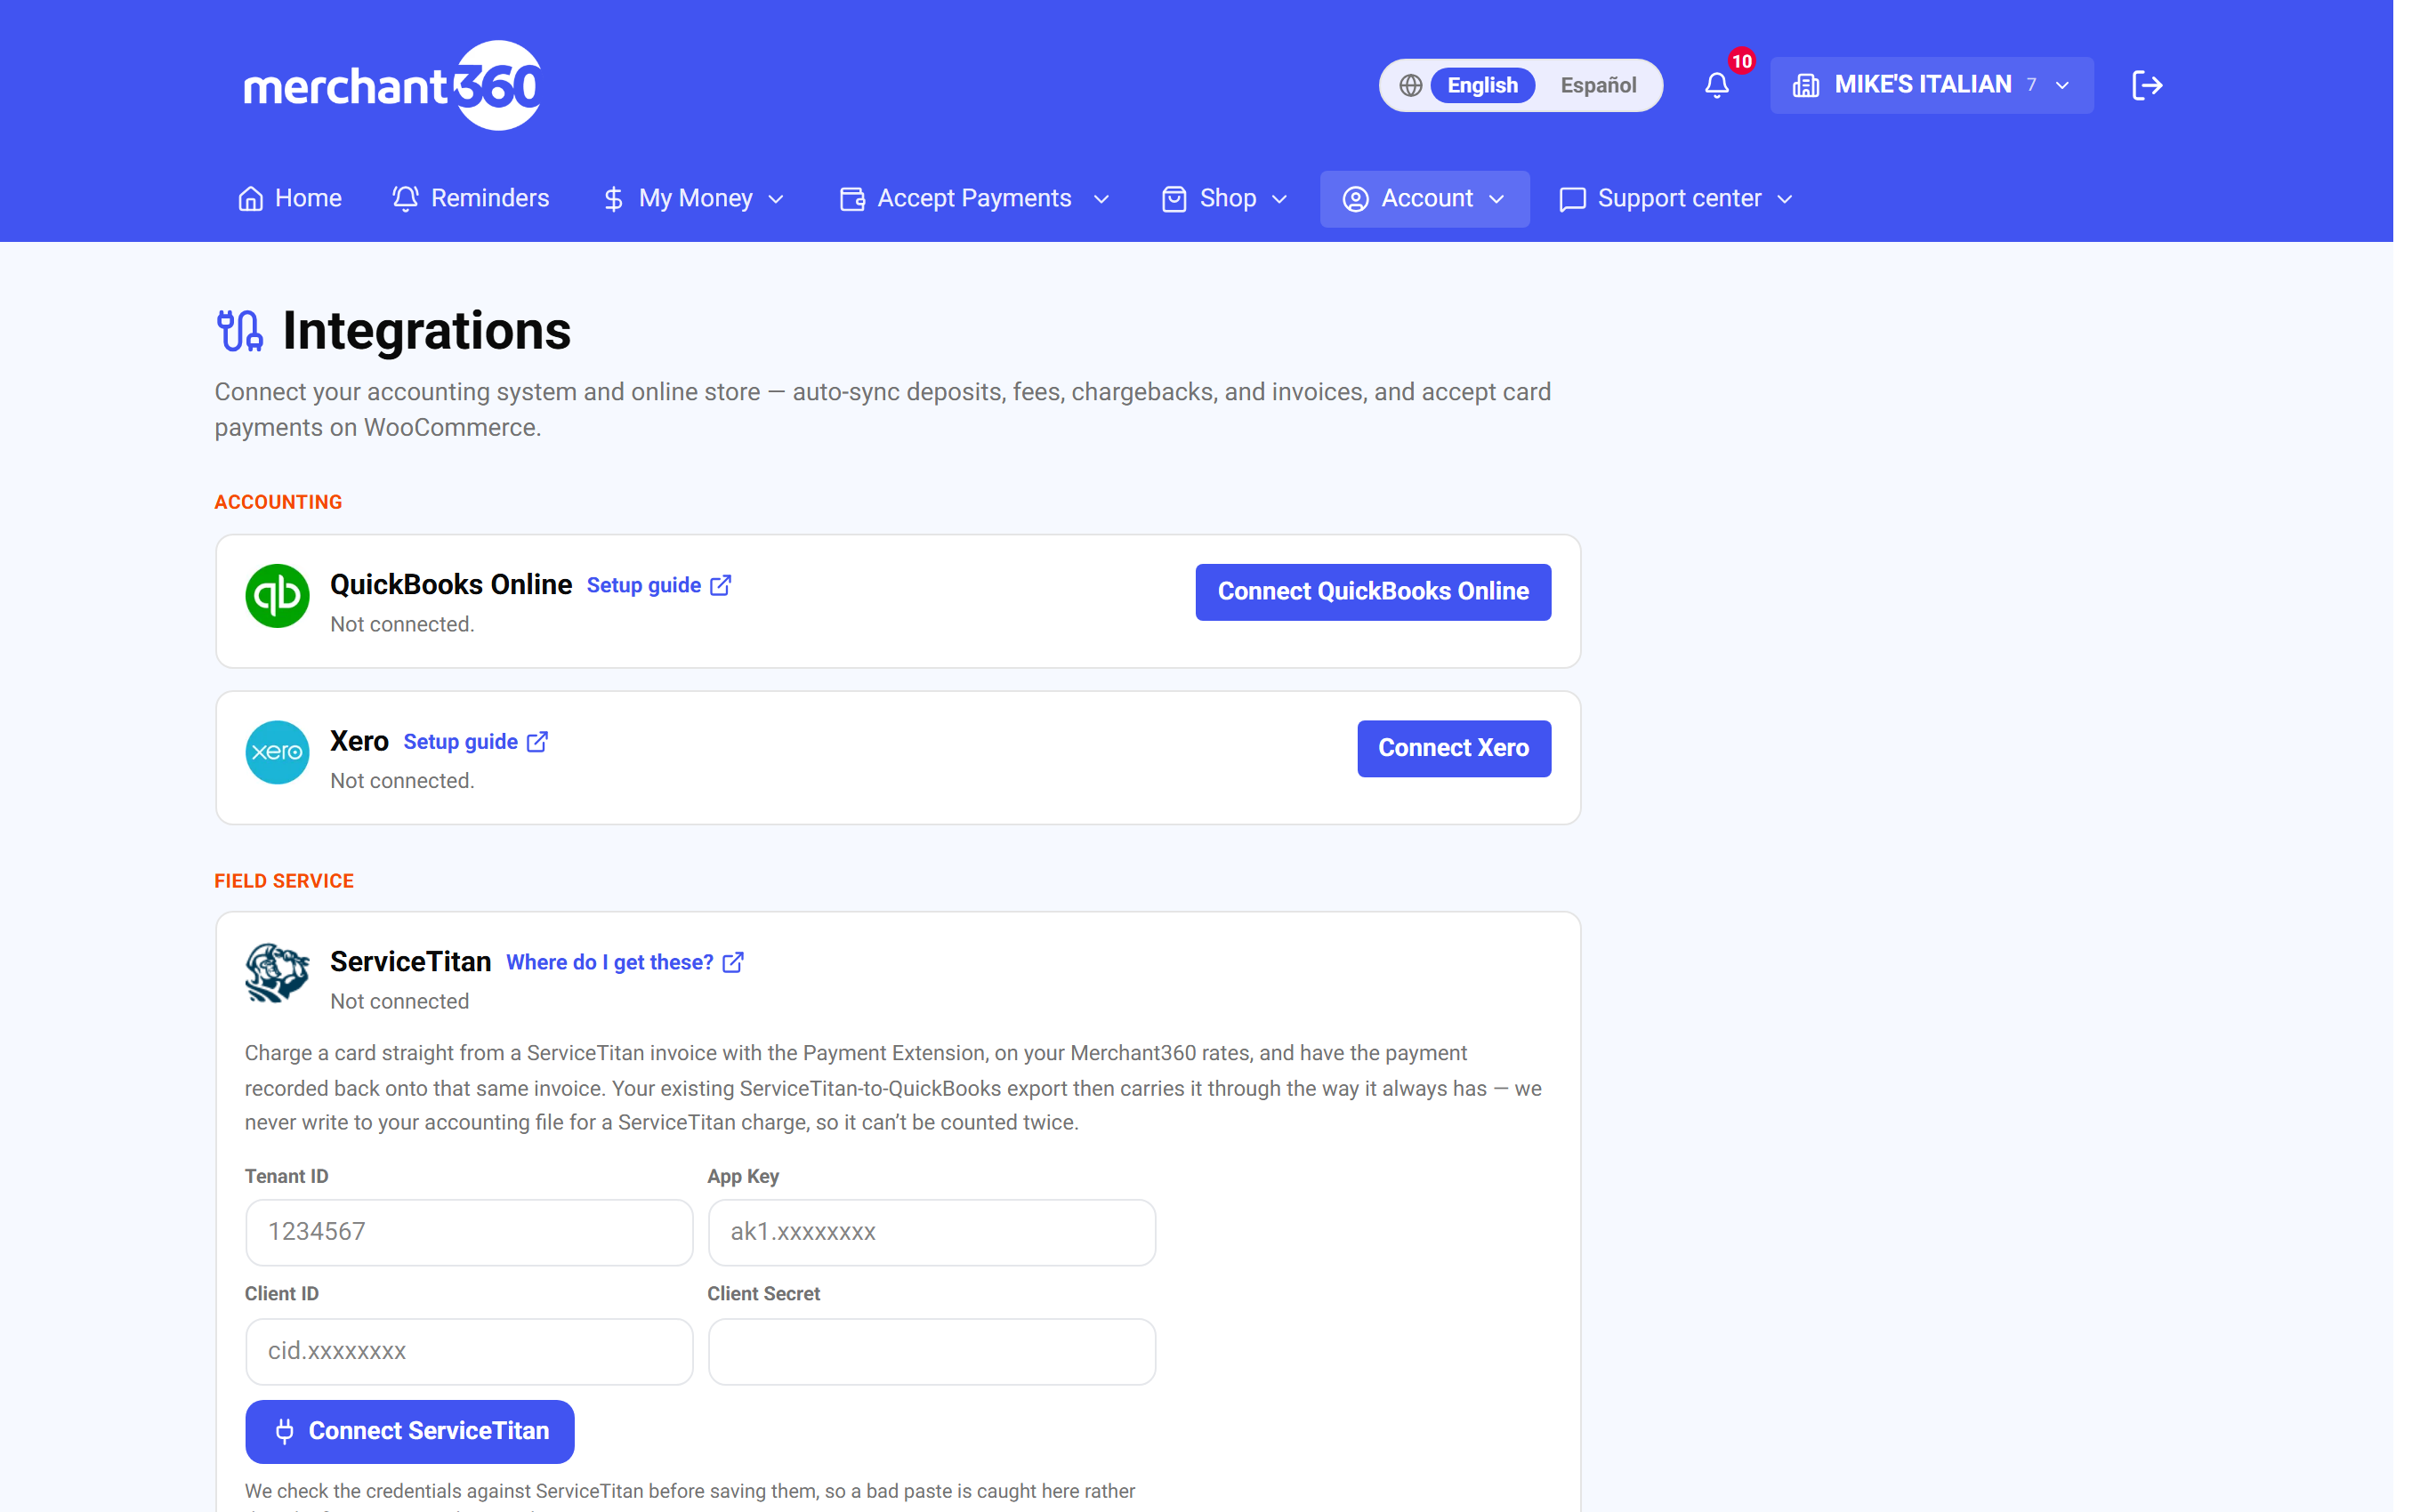
Merchant360 syncs your processing activity straight into QuickBooks Online, so you are not re-keying deposits and invoices. The connection is made once on the QuickBooks Online card under Account → Integrations.
Only the account owner or a manager can connect it, and you need the QuickBooks sign-in for the company file you want the entries in. Done looks like this: the card reads Connected with a last-synced time, and after the first Sync now your QuickBooks chart of accounts has the clearing, income, fee, and chargeback accounts described under Reconciling & what to expect.
If the card reads Not connected after you approved on the Intuit side, refresh Integrations; the approval sometimes lands a moment later. If you connected the wrong company, click Disconnect and connect again choosing the right one. If you see the permission warning, ask your account owner to connect it or to give you the manager role.
- 1Go to Account → Integrations and click Connect on the QuickBooks Online card.
- 2You are taken to Intuit to sign in and authorize Merchant360 for your company. The connection asks for accounting access only.
- 3Approve, and you land back on Integrations showing Connected, your last-synced time, and Sync now and Disconnect buttons.
- 4Owners and managers can manage the connection. It is a one-time setup: the connection refreshes itself and keeps working.
| On this screen | What it does |
|---|---|
| Connect | Sends you to Intuit to sign in and authorize. You return to Integrations when done. |
| Connected · never synced yet / last synced | The status line on the card after connecting, then the time of the last sync. |
| Sync now | Runs a sync immediately. Shows Syncing, then the new last-synced time, or Sync failed. |
| Disconnect | Asks you to confirm. Sync stops until you reconnect; nothing already in QuickBooks is removed. |
| Mark the invoice paid automatically | Only matters with the Payment Extension. Explained in the next section. |
| Only OWNER and MANAGER roles can manage integrations | The warning other roles see. Ask your account owner. |
| Xero card / Connect | The same flow for Xero. |
Prefer Xero? A Xero option lives on the same page. QuickBooks Online is the fuller, fully-supported accounting sync.
What syncs to QuickBooks
Once connected, Merchant360 keeps your books current on its own. The sync runs automatically every few hours, and you can click Sync now any time. It is safe to re-run: nothing is ever duplicated. Here is exactly what it sends.
Done looks like this: each funded deposit appears in QuickBooks as a journal entry on its funding date, invoices you send from Billing Tools show up as QuickBooks invoices under the same customer, and their payments post against them as customers pay.
If an entry is missing, check the sync log on the card for the run that should have carried it, then click Sync now. If entries post without a class, turn on Track classes in your QuickBooks company settings and sync again. If a customer name was created twice, the invoice's customer name differed slightly from the one in QuickBooks; merge them in QuickBooks and later invoices follow.
- 1Funded deposits: each settled batch posts as a journal entry for the amount actually deposited (your sales net of processing fees), into a clearing account and your processing-sales income.
- 2Settled card batches from your billing tools (virtual terminal, payment links, pay widget, checkout): each closed batch posts as a journal entry into the clearing account and your processing-sales income. When a dropdown custom field is set to post as a class, the income side is split into one line per class value (Annual Dues, Golf Outing) plus an unclassified line, so your Profit & Loss by Class shows each program.
- 3Chargebacks: post as a journal entry to a Chargebacks & Adjustments expense account.
- 4Invoices you send from Billing Tools: push to QuickBooks as real invoices, with their line items, sales tax, and the customer created for you by name. Lines carry the invoice's class when your class field has a value.
- 5Invoice payments: as a customer pays, the payment posts in QuickBooks against that same invoice.
| On this screen | What it does |
|---|---|
| Sync now | Pushes everything new since the last run. Re-running never duplicates an entry. |
| Last synced | When the most recent run finished. |
| Sync log | What each run sent and any entry it could not post, with the reason. |
| Class field (custom payment field set to post as a class) | Splits batch income by class value and stamps invoice lines with the class. |
| Disconnect | Stops future runs. Existing QuickBooks entries are untouched. |
Classes need Track classes turned on in your QuickBooks company settings; until then entries post without a class and the sync log says so.
Charging a QuickBooks invoice from the Payment Extension
This one works the other way around: the invoice already lives in QuickBooks, and you want to take a card against it without typing anything twice. With the Merchant360 Payment Extension installed, open the invoice in QuickBooks and a Pay button appears with the balance already filled in. Take the card in the secure checkout that opens, and the money runs on your Merchant360 rates instead of whatever the software bundled in.
You need the extension installed in your browser and connected to your account. Install it from the Get the extension button on Integrations, then approve the Connect the Payment Extension page that opens; it lets the extension open checkouts at the amounts you choose and read their results, and nothing else. QuickBooks must also be connected for the payment to be recorded.
Afterwards the payment has to get recorded against that invoice. There are two ways, and which one you want depends on how you actually use QuickBooks. Done looks like this: the QuickBooks invoice shows paid with the Merchant360 transaction as the payment, once, and the charge appears in your Transactions.
If no Pay button appears, the extension is not installed in this browser profile or is not connected; open Integrations and connect it again. If the payment did not record, click Record in QuickBooks in the extension panel. If an invoice was paid twice, turn the automatic option off, because another system is posting the payment too.
- 1By hand (the default): after the charge, the extension panel shows the invoice number it read off the screen and a Record in QuickBooks button. One click posts the payment against that invoice.
- 2Automatically: turn on Mark the invoice paid automatically on the QuickBooks card under Account → Integrations. From then on, charging from a QuickBooks invoice screen records the payment on its own and the invoice marks itself paid.
| On this screen | What it does |
|---|---|
| Get the extension / Install guide | On Integrations. Where to install the browser extension and how. |
| Connect the Payment Extension: Authorize & connect | The approval page. Grants the extension the right to open checkouts and read their results only. |
| Connect in test mode | Connects the extension to the sandbox so no real charges run while you try it. |
| Pay (in QuickBooks) | The button the extension adds to an invoice, with the balance filled in. Opens the secure checkout. |
| Record in QuickBooks | In the extension panel after a charge. Posts the payment against the invoice number it read. |
| Mark the invoice paid automatically | On the QuickBooks card. Records the payment by itself after every charge from an invoice screen. Invoices that already show a zero balance are skipped. |
Leave the automatic option OFF if your invoices are created somewhere else and synced into QuickBooks, because job-management and field-service platforms usually post their own payment when you mark the invoice paid over there, so ours would be the second one. Same if you only use QuickBooks for banking rather than invoicing. When it is on, we skip any invoice that already shows a zero balance, so a payment cannot land twice.
Run ServiceTitan? Charge and reconcile there instead
If your invoices live in ServiceTitan, that is where the payment belongs, not in QuickBooks. Connect ServiceTitan on its own card under Account → Integrations, and the Payment Extension will charge a card straight from a ServiceTitan invoice on your Merchant360 rates and record the payment back onto that same invoice. Your existing ServiceTitan-to-QuickBooks export then carries it through exactly as it always has.
This is separate from the QuickBooks connection above. A ServiceTitan charge is recorded in ServiceTitan only; ServiceTitan's own export sends it to your accounting file. You need the Payment Extension installed and API credentials from ServiceTitan.
Done looks like this: the card reads Connected with Recording as showing your chosen payment type, and a test charge from a ServiceTitan invoice shows up on that invoice as a payment.
If the credentials are refused, one of the four values was pasted wrong; they are checked against ServiceTitan before saving, so fix and try again. If payments record under the wrong type, change Record payments as. If you need to rotate keys, use Update credentials, because the secret and app key are never shown again after saving.
- 1In ServiceTitan, create API credentials for Merchant360 and note your Tenant ID, Client ID, Client Secret, and App Key.
- 2Paste all four into the ServiceTitan card under Account → Integrations. We check them against ServiceTitan before saving, so a bad paste is caught right there instead of the first time you take a card.
- 3Pick which ServiceTitan payment type the recorded payments should use under Record payments as, or leave it on the ServiceTitan default.
- 4Optionally turn on Mark the invoice paid automatically, with the same behaviour and the same zero-balance protection as the QuickBooks version.
| On this screen | What it does |
|---|---|
| Tenant ID / App Key / Client ID / Client Secret | The four values from ServiceTitan. Where do I get these? on the card shows where to find them. |
| Connect / Cancel | Checks the credentials against ServiceTitan and saves them, or closes the form. |
| Not connected / Connected | The card's status. |
| Record payments as / ServiceTitan default / Recording as | The ServiceTitan payment type stamped on recorded payments. |
| Mark the invoice paid automatically | Records the payment on the ServiceTitan invoice by itself. Zero-balance invoices are skipped. |
| Update credentials | Replaces the stored secret and app key. |
| Disconnect | Stops recording to ServiceTitan until you reconnect. |
Only the account owner or a manager can connect it. Your Client Secret and App Key are encrypted and never shown again after saving; to change them, use Update credentials.
Odoo, JobTread and Mindbody
The same idea covers three more systems, each on its own card under Account → Integrations. In every case the payment is recorded back into the system you were looking at; those platforms export to your accounting file themselves. All three need the Payment Extension installed and credentials from that platform, and only the account owner or a manager can connect them.
Odoo: charge from a customer invoice and Odoo registers the payment against it, reconciled, exactly as the Register Payment button does. You pick which journal it lands in when you connect. JobTread: charge from a customer invoice and the payment is recorded against that invoice.
Mindbody works differently. If you have a Handpoint card reader paired, the button on a Mindbody sale reads Charge on terminal and sends the amount straight to the reader; the member taps or dips, the card is present, and you get card-present rates. Key it instead is there for a phone booking or a card that will not read. Either way the sale is recorded in Mindbody against a custom payment method you choose, so your reporting, inventory, and client history stay right.
Done looks like this: the card reads Connected, and a test charge from the platform's invoice or sale screen appears there as a payment under the method or journal you chose.
If the card refuses your credentials, use Where do I get these? on the card and copy them again. If Mindbody sales record under the wrong method, change the custom payment method on the card. If the terminal button does not appear, the reader is not paired; the button falls back to keyed checkout on its own.
| On this screen | What it does |
|---|---|
| Connect / Where do I get these? | Opens the credential form for that platform, with a pointer to where the platform issues them. |
| Odoo: journal | Which Odoo journal registered payments land in. Chosen when you connect. |
| Mindbody: custom payment method | The payment method each sale is recorded under in Mindbody. |
| Charge on terminal / Key it instead | On a Mindbody sale with a Handpoint reader paired. Sends the amount to the reader, or opens keyed checkout. |
| Mark the invoice paid automatically | Where offered, records the payment by itself after a charge. Default is off. |
| Default | The badge on the platform that is used when more than one is connected. |
| Update credentials | Replaces stored keys. Secrets are never shown again after saving. |
| Disconnect / Cancel | Stops recording to that platform, or closes the form. |
No reader paired yet? The Mindbody button falls back to keyed checkout on its own. Order a terminal from Shop → Supplies & Equipment and it becomes the default at the counter automatically.
Reconciling & what to expect
On the first sync, Merchant360 creates the accounts it needs if they are not already there: EPI Processing Clearing (a bank-type clearing account), Merchant Processing Sales (income), Merchant Processing Fees (expense), and Chargebacks & Adjustments (expense). Your real bank account is never posted to directly.
To reconcile, when a processing deposit shows up in your QuickBooks bank feed, Match it to EPI Processing Clearing rather than adding it as income. The clearing account then nets to zero, and nothing is double-counted. Do this each time you review your bank feed in QuickBooks.
A note on detail: because deposits post at their net figure, processing fees are already accounted for inside each deposit and do not appear as a separate expense line, and a refund reduces the deposit it belongs to. Disconnecting stops future syncing but leaves everything already in QuickBooks exactly as it is.
Done looks like this: EPI Processing Clearing balances to zero after each deposit is matched, and Merchant Processing Sales equals your net processing income for the period.
If the clearing account carries a balance, a deposit was added as new income instead of matched; find it in the bank feed and match it to the clearing account. If you see fees as a separate line, they came from the monthly statement rather than the deposit and belong in Merchant Processing Fees. If an account was renamed in QuickBooks, the sync keeps using it; nothing needs to be done.
| On this screen | What it does |
|---|---|
| EPI Processing Clearing | The bank-type clearing account every deposit journal entry posts to. Match bank deposits here. |
| Merchant Processing Sales | The income account for your net processing sales. |
| Merchant Processing Fees | The expense account for fees billed separately from deposits. |
| Chargebacks & Adjustments | The expense account chargebacks post to. |
| Match (in the QuickBooks bank feed) | Ties the real bank deposit to the clearing entry so the clearing account nets to zero. |
| Disconnect | Stops future syncing. Entries already posted stay as they are. |
Profit & Loss (owner-only)
For a true P&L, go to Profit & Loss under your billing tools. It is owner-only, so ownership financials stay away from floor staff.
The statement totals your revenue (register sales, online orders, and collected invoices), subtracts cost of goods and labor, and rolls up your operating expenses into gross and operating profit with margins. Expenses arrive from three places: the bank feed, vendor payments you record, and the expense form on this page for cash spending that never touches the bank.
Add expenses right on the page: pick a date and category (rent, utilities, payroll taxes, processing fees, marketing, supplies, insurance, and other), enter a label and amount, and mark it monthly if it recurs. Set a date range and the numbers recompute.
Done looks like this: revenue matches your sales for the range, every regular bill appears as an expense whether it came from the bank feed or was typed, and operating profit is a number you trust.
If the page is not in your menu, you are not signed in as the owner. If an expense is doubled, it was typed here and also pulled from the bank feed; delete the typed one. If revenue looks low, widen the date range or check that invoices were marked paid.
| On this screen | What it does |
|---|---|
| From / To / View | Sets the date range and recomputes the statement. |
| Revenue rows | Register sales, online orders, and collected invoices for the range. |
| COGS / Gross profit | Cost of goods from your catalog costs, and revenue minus COGS with its margin. |
| Labor / Operating expenses / Operating profit | Labor, the categorized expenses, and what is left with its margin. |
| Add expense: Date, Category, Label, Amount, Monthly, Add | Types a cash expense. Monthly repeats it every month until deleted. |
| Categories | Rent, Utilities, Payroll taxes, Processing fees, Marketing, Supplies, Insurance, Other. |
| Delete | Removes a typed expense. Bank-feed expenses are excluded from the Bank Feed page instead. |
Statements & tax forms
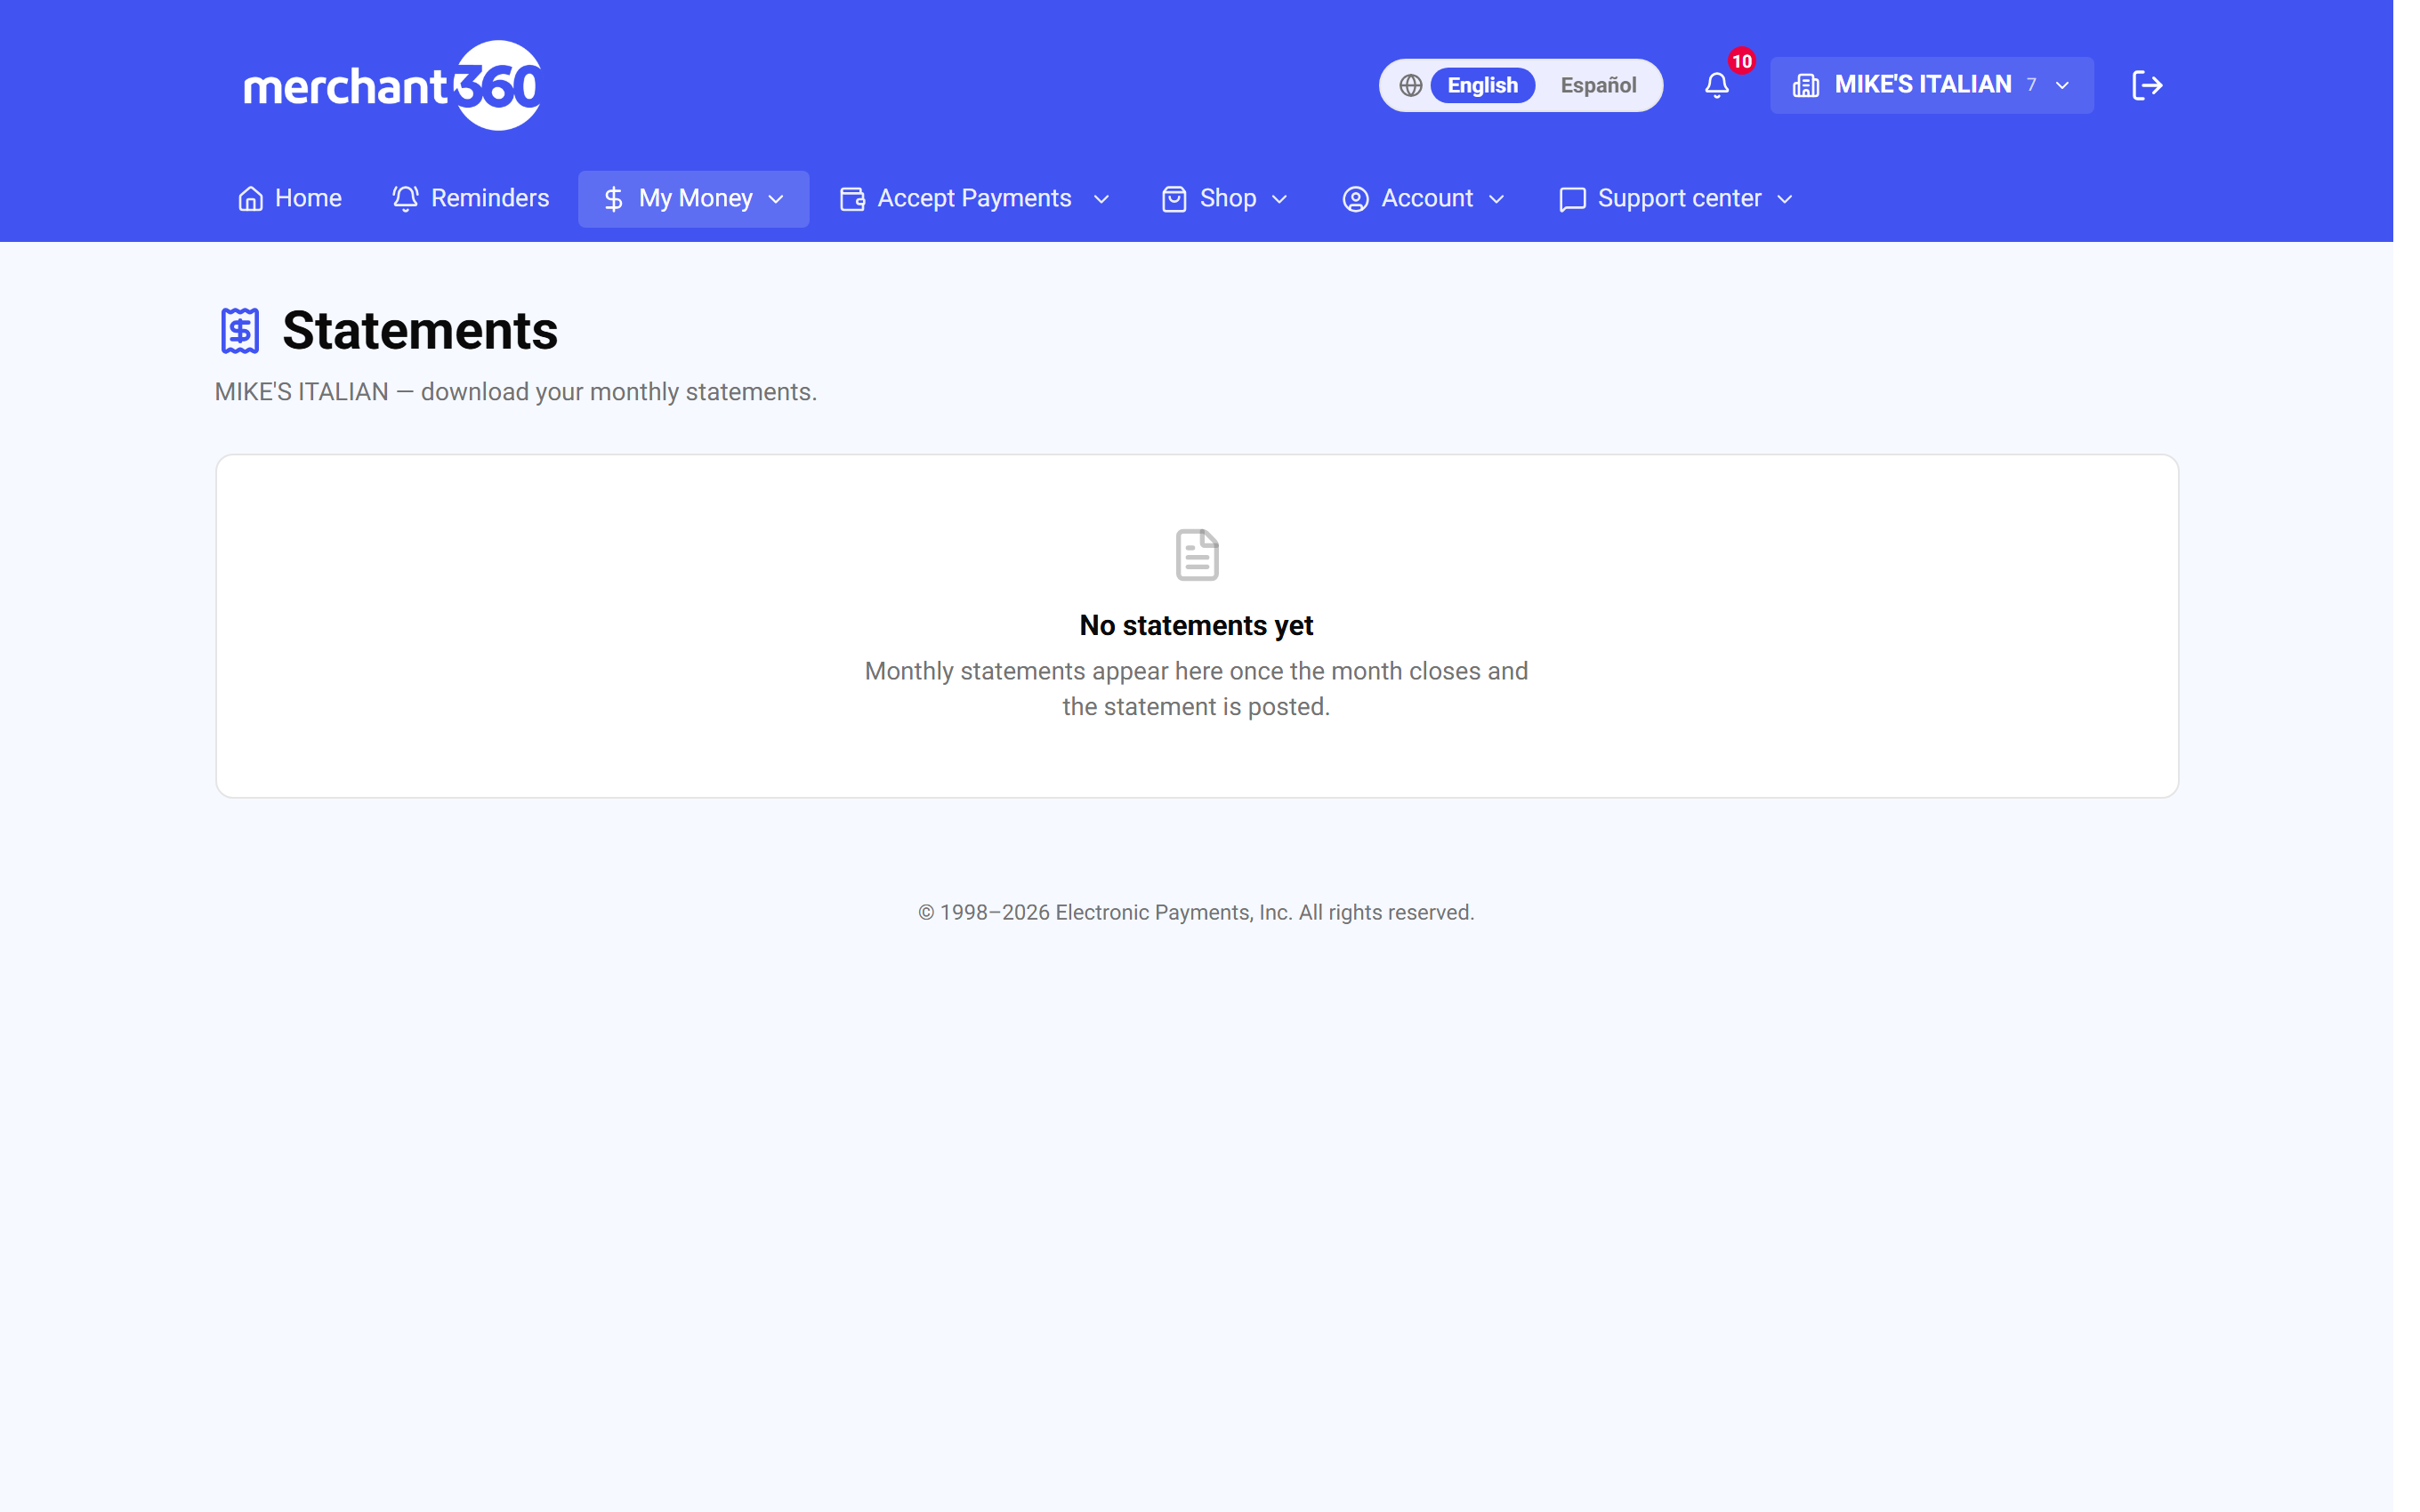
Money → Merchant Statement lists every monthly processing statement once the month closes and the statement is posted, with the period, fees, and the amount funded. Download any month as a PDF, with a CSV where available, or open it on screen.
Find your 1099-K under Money → Tax Forms. Pick a tax year to see your gross volume, transaction count, and federal tax withheld, with a month-by-month table and an annual total; when your volume meets the IRS threshold, a Download 1099-K (PDF) button appears. Electronic Payments delivers 1099-Ks digitally, so there is no mailed copy to wait on.
The 1099-K reports gross card volume before refunds, chargebacks, and fees, so it is higher than what you deposited. To reconcile, add up the sales line on that year's monthly statements; it should match within rounding. The Documents page is where you upload anything we ask for, such as a voided check or an ID, and where your signed agreement and other account documents are kept.
Done looks like this: your accountant has the year's statements and the 1099-K PDF, and the annual total on Tax Forms ties to the statements.
If a month is missing, statements post a few days after the month closes; if the page says the archive is unavailable, try again in a few minutes. If Tax Forms shows Below IRS reporting threshold, no form is issued for that year but the data is still shown for your records. If your legal name or TIN on the 1099-K is wrong, open a support ticket with the correction and a corrected form is issued.
- 1Go to Money → Merchant Statement and click PDF or CSV on the month you need, or open the month to view it and Download PDF.
- 2Go to Money → Tax Forms, pick the Tax year, and click Download 1099-K (PDF) when it is offered.
- 3Everything is already itemized, so your accountant gets clean numbers without chasing you down.
| On this screen | What it does |
|---|---|
| Statements: Period / Fees / Funded / Actions | One row per month with the fees charged and the amount funded. |
| PDF / CSV | Downloads that month's statement in either format. |
| Download PDF (on an open statement) | Downloads the statement you are viewing. |
| Statement of Account: From / To / Run | Builds a statement for any date range you choose. |
| Tax year | Picks the year shown on Tax Forms. |
| Gross volume / Transactions / Federal tax withheld | The year's totals, with a month-by-month table and Annual total. |
| Download 1099-K (PDF) | Appears when your volume meets the IRS threshold for that year. |
| Below IRS reporting threshold | Shown when no 1099-K is required for that year. The data stays for your records. |
| MID pending | Shown while a merchant account is still being set up for the year. |
| Documents: Document type, File, Notes, Upload | Uploads a file we asked for. Files are private to your account and our underwriting team. |